The Ultimate Shotgun Bible for Free Fire From Zero to One-Tap God
By Free Fire Nation | Reading Time: 10 Minutes
Introduction: Why 90% of Players Fail with Shotguns
Let’s be honest. You have probably picked up an M1887, rushed an enemy, and hit them for only “19 damage” before they melted you with an MP40. You swore shotguns are “broken” or “laggy.” But here is the truth: You are fighting the game mechanics, not the enemy.
In this Ultimate Guide, we aren’t just giving you “tips.” We are breaking down the hidden math of Damage Drop-off, teaching you Pro Player movement (Layott/Vader style), and giving you the exact sensitivity settings to turn your shotgun into a delete button.

What You Will Learn:
-
The Science of Pellets & Drop-off
-
Weapon Deep Dive: M1887 vs. M590 vs. M1014 vs. SPAS12
-
Pro Movement: The “Jiggle-peek” & Gloo Wall Dancing
-
The Perfect Loadouts (Characters + Pets)
-
One-Tap Sensitivity & HUD Setup
Chapter 1: The Science (That Noobs Ignore)
Before we talk about aiming, you need to understand damage.
The “Pellet” Mechanic
A shotgun does not fire one bullet. It fires “Pellets” (small projectiles). If you are 20m away, only 2 out of 10 pellets might hit the enemy. That is why you see “19 damage.” You missed 8 pellets.
The Damage Drop-off Cliff
Shotguns have the most extreme “Damage Drop-off” in Free Fire. At 0-5 meters, you deal 100% damage (Instant Kill). At 15 meters, you deal less than 20% damage (Tickling them).
Rule #1: If you are shooting further than the length of a vehicle, DO NOT SHOOT. Close the gap first.
Chapter 2: Shotgun Archetypes (Choose Your Fighter)
You cannot use an M590 like an M1014. Here is the breakdown:
1. The Executioner: M1887
-
Damage: 100 (2 shots max)
-
Pro Strategy: Hit the first shot or die.
-
Pro Tip from AURA Vader: Always aim for the Chest/Neck. The recoil will kick the second shot up to the head for a guaranteed kill. Never fire both shots wildly.
2. The Glass Cannon: M590 (One-Tap King)
-
Damage: 90 + Explosive damage.
-
The Trick: This gun has a 1-bullet magazine. You must master the “Reload Cancel” or “Cover Dance.”
-
Move: Shoot -> Immediately take cover (Gloo Wall) -> Reload -> Peek -> Shoot.
-
-
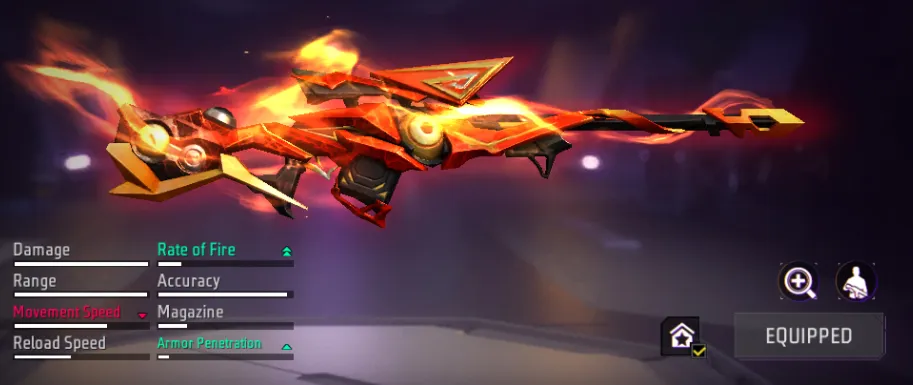
Best Skin Attribute: +Range. This extends the one-tap distance significantly.
3. The Rusher: M1014 (Semi-Auto)
-
The Playstyle: Aggressive rushing. Do not ADS (Aim Down Sights). Use “Hip Fire + Crouch Spam.”
-
Why it works: You can spam 6 shots fast. Miss one? No problem. Fire another.
4. The Underdog: SPAS 12
-
Tip: Strictly for close-quarter buildings. Use Smooth Sensitivity to flick between multiple enemies. Do not use it in open fields.
Chapter 3: Pro Movement & Positioning (The Clutch Factor)
Pro player Layott (IGN Interview) emphasizes: “Shotgun players must be aggressive, not scared.”
Technique 1: The Jiggle-Peek
Shotguns suffer from slow “pump action” delay. Instead of standing still, strafe left and right behind a wall. Peek only for the split second you shoot. This makes you nearly impossible to hit with ARs.
Technique 2: Gloo Wall Dancing
Many players panic throw Gloo Walls. Here is the Pro Move:
-
Throw the Gloo Wall slightly to the left of the enemy.
-
Run right (exposing yourself briefly).
-
The enemy shoots the Gloo Wall thinking you are behind it.
-
Counter: You are actually flanking right. Shoot them in the side.
Technique 3: The Crouch Accuracy Glitch
Free Fire has a weird mechanic: Crouching tightens the pellet spread.
-
Action: When you fire, tap the Crouch button.
-
Result: Your pellets cluster tighter, turning a body shot into a headshot.
Chapter 4: The Ultimate Loadout
You cannot use a naked shotgun. You need synergy.
The “One-Tap” Build (M1887/M590)
-
Character: Hayato (Armor penetration increases as HP drops) + Dasha (Reduces damage fall-off & recoil).
-
Pet: Detective Panda (Heal on kill for aggressive reset).
The “Rush Spam” Build (M1014)
-
Character: Joseph (Speed boost when taking damage to close the gap) or Jota (Heal when hitting with SMG/Shotgun).
-
Pet: Rockie (Skill cooldown reduction to spam Jota’s heal).
The “Troll” Build (SPAS 12)
-
Character: K (Master of All) – Switch to Jiu-jitsu mode to recover armor HP while you peek.
Chapter 5: The “One-Tap” Sensitivity & HUD
You cannot copy a Sniper’s sensitivity for a Shotgun.
Sensitivity Settings (For Shotguns only):
-
General: 90-100 (You need to turn 180° fast).
-
Red Dot: 70-80 (High enough to flick to head).
-
Hip Fire (Crucial): Set this to 100. Your shotgun fights are won in Hip Fire, not ADS.
The 3-Finger Claw Setup:
-
Left Index Finger: Fire button (Moved to top left corner).
-
Left Thumb: Movement joystick.
-
Right Thumb: Aim and Crouch/Jump.
-
Why? In a 2-finger setup, you cannot aim, crouch, and shoot at the same time. With 3 fingers, you can Crouch + Shoot + Aim simultaneously.
Chapter 6: Training Drills (Your Homework)
Reading this won’t make you a pro. Do this in Clash Squad or Training Grounds for 10 minutes before playing Ranked:
-
The 5-Meter Drill: Stand 5m from a wall. Fire. Count the bullet holes. If the spread is wider than the enemy’s body, you are too far.
-
The Peek Drill: Stand behind a container. Peek left, shoot the wall, go back. Do this 50 times. This builds muscle memory for peeking.
-
The Flick Drill: Look at Wall A -> Quickly spin 90° -> Shoot Wall B. Shotguns are about first-shot accuracy.
BONUS: 3 Mistakes Killing Your Game
-
Jumping while shooting: Jumping increases pellet spread by 300%. You will miss. STOP JUMPING.
-
Reloading in the open: Shotguns have the longest reload times. Hide behind a wall to reload.
-
Using the wrong skin: If your skin doesn’t have +Damage or +Range, you are at a disadvantage. Check your weapon collection.
🎬 Conclusion: Go Dominate Bermuda
The shotgun is the Risk vs. Reward king of Free Fire. You will lose fights while learning. You will hit “19 damage” and want to throw your phone. But once you master Damage Drop-off distances, Crouch shooting, and Gloo Wall dancing, you will become the player that enemies run away from.
Now, go get those headshots.
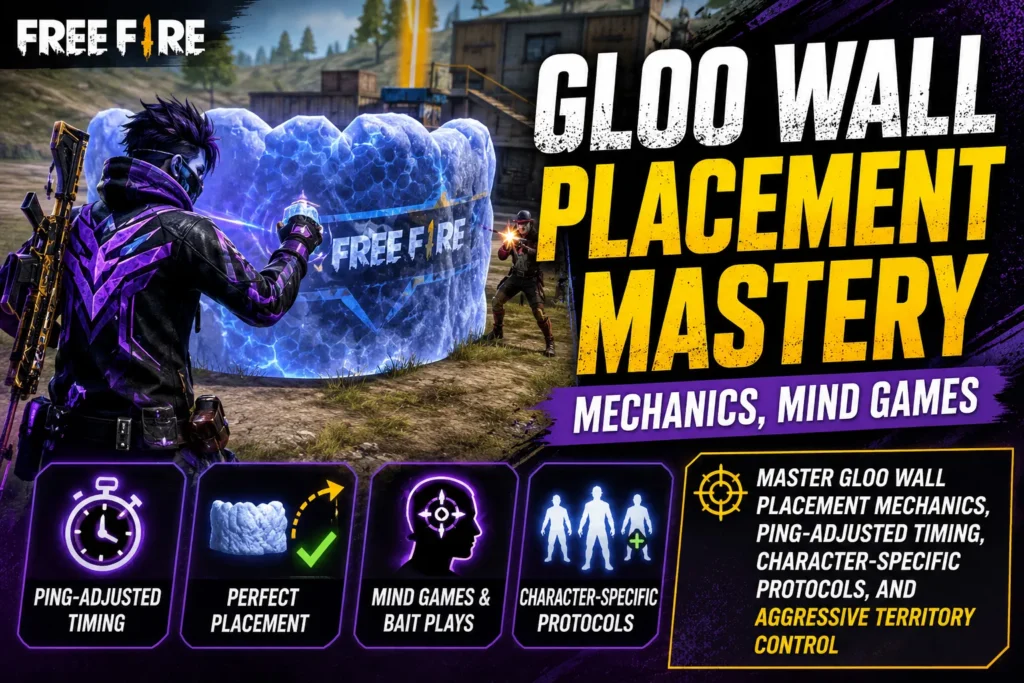
Gloo Wall Placement Mastery
Free Fire Drag Headshot Tips
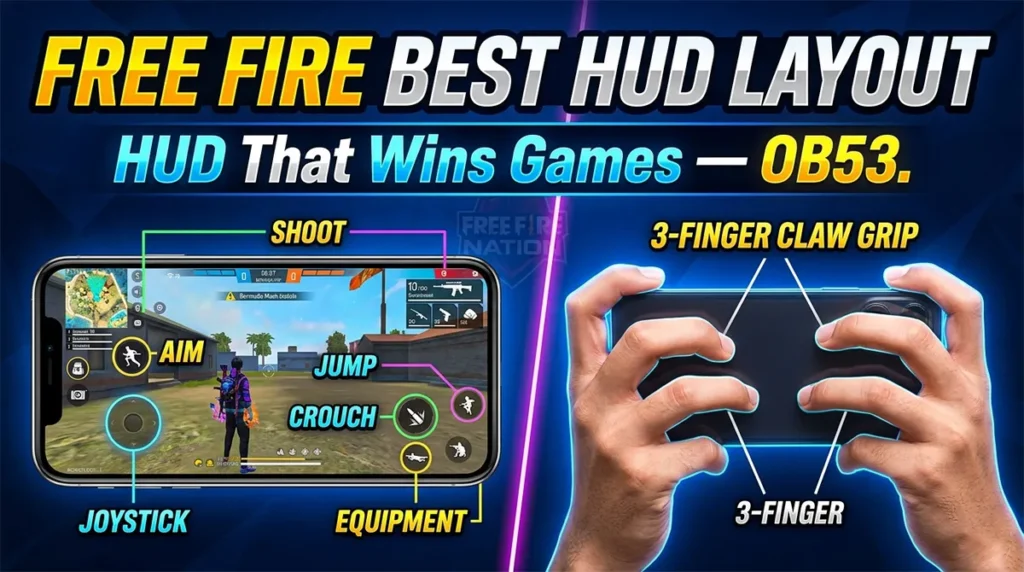
Free Fire 3 Finger Claw Settings + HUD Code — The Only Guide You Need
AWM vs M82B Free Fire — Konsa Sniper Better Hai?
![]()
Free Fire Solo Rank Push Kaise Kare

Written by
Free Fire Nation Team
Free Fire Nation is a dedicated gaming editorial team covering Free Fire news, weapon guides, esports, and redeem codes since 2019. All content is tested in-game and verified against official Garena sources.

2 Discussions