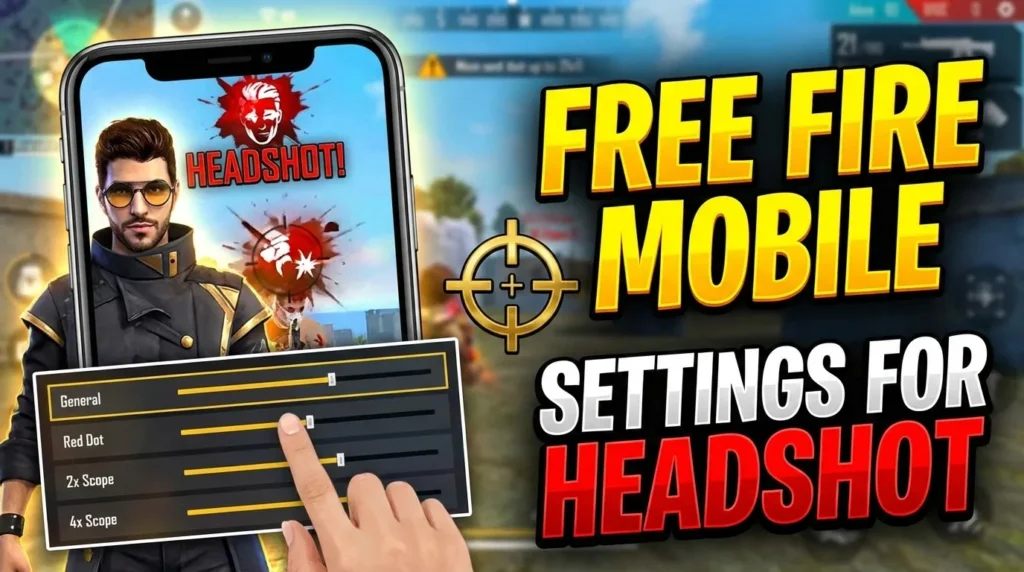
While skills and practice matter tremendously, having the right mobile settings can dramatically improve your headshot accuracy and overall gameplay performance for Free Fire Mobile Settings for Headshot.
After analyzing countless YouTube tutorials from top Free Fire content creators, studying pro player configurations, and testing various sensitivity combinations, we’ve compiled this definitive guide to help you optimize your mobile settings for maximum headshot potential.
Whether you’re playing on Android or iOS, this comprehensive guide covers everything from sensitivity settings to HUD layouts, device-specific optimizations, and pro player configurations that dominate the battlefield.
Why Settings Matter for Headshots in Free Fire
Before diving into specific configurations, it’s essential to understand why proper settings significantly impact your headshot accuracy.
Free Fire’s combat system rewards precision. Headshots deal approximately 200% more damage than body shots, often resulting in instant eliminations regardless of enemy armor. However, achieving consistent headshots requires:
- Precise crosshair control: Smooth sensitivity allows accurate aim adjustments
- Quick target acquisition: Responsive controls help you snap to enemy heads
- Stable aim during combat: Balanced settings prevent over-aiming or under-aiming
- Optimal visual clarity: Proper graphics settings help identify enemy positions
Your device settings create the foundation for developing muscle memory. Once optimized, your brain learns exactly how much finger movement translates to crosshair displacement, enabling instinctive headshot targeting.
For weapon-specific strategies to complement these settings, check out our weapon tier list guide.
Best Sensitivity Settings for Headshots

Sensitivity settings form the core of your headshot configuration. These values determine how quickly your camera moves relative to finger movement on your screen.
Understanding Sensitivity Categories
Free Fire divides sensitivity into multiple categories:
| Sensitivity Type | Purpose | Headshot Impact |
|---|---|---|
| General | Overall camera movement | High – affects all situations |
| Red Dot | Aiming with red dot sights | Very High – close/mid-range headshots |
| 2x Scope | Medium-range engagement | High – versatile combat scenarios |
| 4x Scope | Long-range targeting | Medium – sniper headshots |
| AWM Scope | Bolt-action sniper rifles | Medium – one-shot potential |
| Free Look | Scouting without movement | Low – situational awareness |
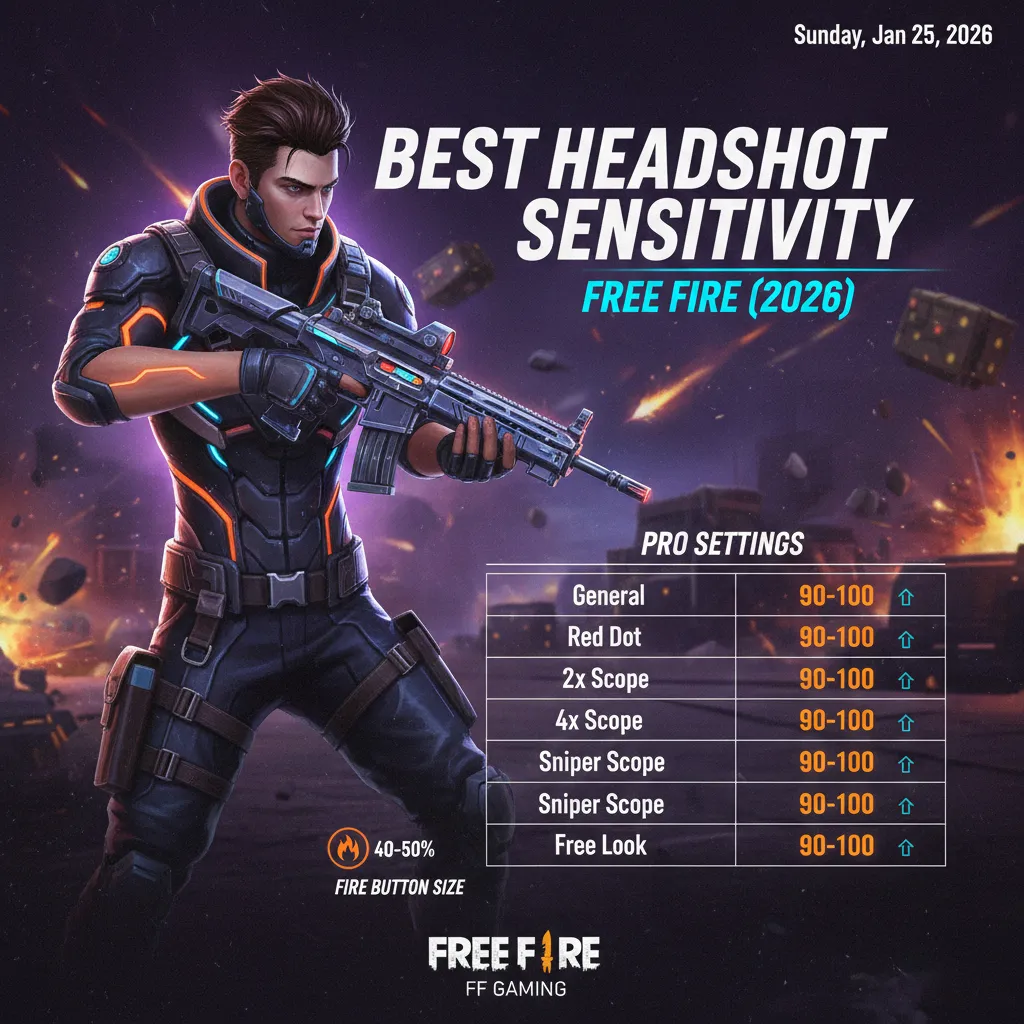
Recommended Sensitivity Settings for Headshots
Based on extensive research from YouTube content creators including Raistar, B2K (Born2Kill), Ruok FF, and Vincenzo, here are optimized sensitivity ranges for headshot accuracy:
Low Sensitivity Configuration (Precision Focus)
Best for players who prefer controlled, accurate movements:
- General: 90-95
- Red Dot: 85-90
- 2x Scope: 80-85
- 4x Scope: 75-80
- AWM Scope: 60-65
- Free Look: 70-75
This configuration suits players who take their time aiming, prefer tap-firing, and prioritize single-shot accuracy over spray control.
Medium Sensitivity Configuration (Balanced)
Ideal for versatile players who engage in various combat scenarios:
- General: 95-100
- Red Dot: 90-95
- 2x Scope: 85-90
- 4x Scope: 80-85
- AWM Scope: 65-70
- Free Look: 75-80
Most YouTube professionals recommend starting with medium sensitivity and adjusting based on personal preference.
High Sensitivity Configuration (Aggressive Playstyle)
Designed for rush players and close-quarter combat specialists:
- General: 100
- Red Dot: 95-100
- 2x Scope: 90-95
- 4x Scope: 85-90
- AWM Scope: 70-75
- Free Look: 80-85
High sensitivity enables quick 180-degree turns and rapid target switching but requires exceptional control.
Pro Player Sensitivity Settings from YouTube
Many players search for exact settings used by famous Free Fire YouTubers. Here are verified configurations from popular content creators:
Raistar’s Sensitivity Settings
Known for lightning-fast reflexes and incredible headshot accuracy:
- General: 100
- Red Dot: 100
- 2x Scope: 95
- 4x Scope: 90
- AWM Scope: 75
- Free Look: 82
B2K (Born2Kill) Sensitivity Settings
Famous for one-tap headshots and aggressive gameplay:
- General: 100
- Red Dot: 100
- 2x Scope: 100
- 4x Scope: 95
- AWM Scope: 80
- Free Look: 85
Ruok FF Sensitivity Settings
Renowned Thai player known for incredible drag headshots:
- General: 100
- Red Dot: 100
- 2x Scope: 100
- 4x Scope: 100
- AWM Scope: 85
- Free Look: 90
Vincenzo Sensitivity Settings
Popular for smooth gameplay and consistent accuracy:
- General: 100
- Red Dot: 95
- 2x Scope: 90
- 4x Scope: 85
- AWM Scope: 70
- Free Look: 80
Important Note: Pro player settings work for them due to extensive practice and muscle memory. Copy their settings as a starting point, then adjust according to your comfort level.
Android-Specific Settings for Headshots
Android devices vary significantly in specifications, requiring tailored optimization approaches. Here’s how to maximize headshot potential on Android:
Graphics Settings for Android
Proper graphics configuration ensures smooth gameplay, directly affecting aim consistency:
High-End Android Devices (8GB+ RAM, Snapdragon 870+)
- Graphics: Ultra
- Frame Rate: High (60 FPS) or Very High
- Shadow: On
- Auto-adjust graphics: Off
Mid-Range Android Devices (4-6GB RAM, Snapdragon 700 series)
- Graphics: Standard or High
- Frame Rate: High (60 FPS)
- Shadow: Off
- Auto-adjust graphics: Off
Low-End Android Devices (3-4GB RAM, Budget processors)
- Graphics: Smooth
- Frame Rate: Normal or High
- Shadow: Off
- Auto-adjust graphics: Off
Pro Tip: Many professional players, including AS Gaming and UnGraduate Gamer, recommend using “Smooth” graphics even on high-end devices. Lower graphics reduce visual clutter, making enemy heads easier to spot.
Android System Optimizations
Beyond in-game settings, optimize your Android device:
Enable Game Mode/Gaming Mode
Most Android phones include gaming optimizations:
- Samsung: Game Launcher and Game Booster
- OnePlus: Fnatic Mode or Pro Gaming Mode
- Xiaomi: Game Turbo
- Realme: Game Space
- POCO: Game Turbo
These modes:
- Block notifications during gameplay
- Allocate maximum RAM to Free Fire
- Disable background processes
- Enhance touch response
Developer Options Tweaks
For advanced users:
- Enable Developer Options (tap Build Number 7 times)
- Set Background Process Limit to 2-3
- Enable Force 4x MSAA for smoother graphics
- Disable HW overlays to reduce GPU load
- Set Animator duration scale to 0.5x for snappier UI
Touch Sampling Rate
Newer Android phones offer high touch sampling rates (240Hz-720Hz). Enable maximum touch sampling in settings for more responsive controls.
Recommended Android Devices for Headshots
Based on YouTube gaming community preferences:
| Budget Range | Recommended Devices |
|---|---|
| Premium | iPhone 15 Pro Max, Samsung S24 Ultra, OnePlus 12 |
| Mid-Premium | iPhone 13, Samsung S23, OnePlus 11 |
| Mid-Range | Poco F5, Samsung A54, Realme GT Neo 5 |
| Budget | Poco X5, Redmi Note 12 Pro, Realme 11 Pro |
iOS-Specific Settings for Headshots
iOS devices, particularly iPhones, offer consistent performance due to hardware-software optimization. Here’s how to maximize headshot potential on iOS:
Graphics Settings for iOS
iPhone 15 Pro/Pro Max, iPhone 14 Pro Series
- Graphics: Ultra
- Frame Rate: Very High (90 FPS supported)
- Shadow: Optional (Off for competitive advantage)
- Auto-adjust graphics: Off
iPhone 13/14, iPhone 12 Series
- Graphics: High or Ultra
- Frame Rate: High (60 FPS)
- Shadow: Off
- Auto-adjust graphics: Off
iPhone 11 and Older Models
- Graphics: Standard or High
- Frame Rate: High (60 FPS)
- Shadow: Off
- Auto-adjust graphics: Off
iPad Pro and iPad Air
Tablets offer larger screens for better target visibility:
- Graphics: Ultra
- Frame Rate: Very High
- Shadow: Optional
- Auto-adjust graphics: Off
iOS System Optimizations
Apple’s ecosystem requires different optimization approaches:
Enable Gaming Focus Mode
- Open Settings > Focus
- Create a new Focus called “Gaming”
- Silence all notifications
- Allow only essential contacts
- Enable automatically when opening Free Fire
Disable Background App Refresh
- Navigate to Settings > General > Background App Refresh
- Turn off for all apps or selectively keep essential ones
- This frees RAM for smoother gameplay
Reduce Motion and Transparency
- Go to Settings > Accessibility > Motion
- Enable Reduce Motion
- Navigate to Accessibility > Display & Text Size
- Enable Reduce Transparency
These settings minimize system animations, improving touch responsiveness.
Enable Guided Access
For uninterrupted gaming sessions:
- Open Settings > Accessibility > Guided Access
- Enable Guided Access
- Triple-click side button to activate when gaming
- Prevents accidental exits and notification interruptions
iOS Touch Sensitivity
Unlike Android, iOS doesn’t offer touch sensitivity customization. However, ensure:
- 3D Touch/Haptic Touch: Disabled or set to “Fast” for quicker response
- Screen Protector: Use gaming-specific protectors that maintain touch accuracy
- Clean Screen: Oils and debris affect touch registration
HUD Layout and Control Settings for Headshots
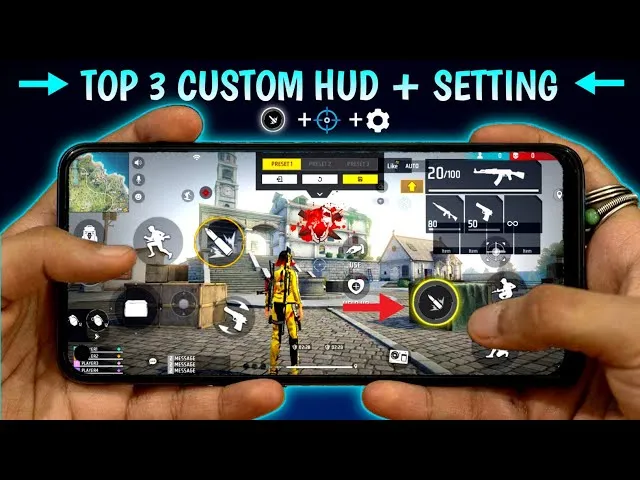
Your button layout significantly impacts headshot capability. Proper HUD configuration allows simultaneous movement, aiming, and shooting.
Recommended HUD Layout Principles
Based on analysis from YouTubers like Badge 99, Desi Gamers, and SK Sabir Boss:
Two-Thumb Layout
For casual players using both thumbs:
- Left side: Movement joystick, crouch button
- Right side: Fire button, scope button, jump
- Top corners: Map, health items, grenades
Three-Finger Claw Layout
Intermediate configuration for improved headshots:
- Left thumb: Movement joystick
- Left index finger: Fire button (top left)
- Right thumb: Camera control, scope, jump
Four-Finger Claw Layout
Advanced configuration used by most pro players:
- Left thumb: Movement
- Left index: Fire button, scope
- Right thumb: Camera control
- Right index: Second fire button, jump
Six-Finger Layout (Tablet/Large Phones)
Maximum control for tablet users:
- Adds dedicated buttons for crouch, prone, and weapon switching
- Popular among competitive players like Ajjubhai (Total Gaming) and Gyan Gaming
Essential HUD Adjustments
Fire Button Configuration
- Size: 80-100% (larger buttons are easier to tap while aiming)
- Position: Comfortable reach without stretching
- Transparency: 40-60% (visible but not obstructing view)
Aim Assist Settings
Free Fire offers aim assist options:
- Aim Precision: On (helps with initial target acquisition)
- Aim Assist: On for beginners, Off for advanced players
Many YouTubers like White444 and Amitbhai recommend keeping aim assist on initially, then gradually reducing reliance as skills improve.
For more control customization tips, visit our tips and tricks section.
Advanced Settings for Headshot Mastery
Beyond basic sensitivity and graphics, these advanced settings enhance headshot consistency:
Crosshair Placement
While Free Fire doesn’t offer crosshair customization like PC shooters, develop these habits:
- Keep crosshair at head level when moving
- Pre-aim common peek angles
- Anticipate enemy positions
Gyroscope Settings
Gyroscope uses device motion for aiming—powerful for headshots when mastered:
Gyroscope Sensitivity Recommendations
- General: 250-300
- Red Dot: 280-320
- 2x Scope: 260-300
- 4x Scope: 240-280
- AWM Scope: 200-250
When to Enable Gyroscope:
- Always On: Full gyro players tilt device for all aiming
- Scope On: Gyro activates only when aiming down sights
- Off: Traditional touch-only controls
YouTubers like Ruok FF and Vincenzo use gyroscope extensively for micro-adjustments during firefights.
Custom Button Placement
Experiment with these placements:
| Button | Recommended Position | Reason |
|---|---|---|
| Primary Fire | Upper right corner | Easy index finger access |
| Secondary Fire | Lower right area | Thumb access while aiming |
| Scope | Near fire button | Quick ADS transition |
| Crouch | Left side | Crouch-shooting while maintaining aim |
| Prone | Near crouch | Quick position changes |
Checkout headshot setting for free fire max
Device-Specific Performance Tips
Managing Heat and Throttling
Extended gaming sessions cause device heating, reducing performance:
- Use cooling fans or phone cooling cases
- Remove phone cases during gaming
- Play in air-conditioned environments
- Take breaks every 45-60 minutes
Internet Connection Optimization
Lag destroys headshot consistency:
- Use 5GHz WiFi over 2.4GHz when possible
- Close background apps consuming bandwidth
- Consider gaming VPNs if experiencing routing issues
- Prefer stable WiFi over mobile data for ranked matches
Storage Management
Check out this youtube video
Maintain at least 2-3GB free storage for:
- Smooth game operation
- Update downloads
- Cache management
Practice Routines for Headshot Improvement
Having optimal settings means nothing without practice. Implement these training routines:
Training Mode Practice
- Spend 15-20 minutes daily in training mode
- Practice drag shots on moving targets
- Focus on one-tap headshots with various weapons
- Test new sensitivity settings here before ranked
Custom Room Practice
- Join 1v1 custom rooms for real player practice
- Challenge friends to headshot-only matches
- Focus on specific weapons (M1887, Desert Eagle)
Gradual Sensitivity Adjustment
- Change sensitivity in small increments (5-10 points)
- Play 10-15 matches before evaluating changes
- Document what works and what doesn’t
- Build muscle memory over 2-3 weeks
For more training strategies, explore our Download Free Fire character to learn ability combinations that complement aggressive headshot playstyles.
Common Mistakes to Avoid
Many players sabotage their headshot potential with these errors:
Copying Pro Settings Exactly
Pro players have thousands of hours of practice. Their high sensitivity settings may feel uncontrollable for beginners. Start lower and gradually increase.
Changing Settings Too Frequently
Constant changes prevent muscle memory development. Commit to settings for at least one week before adjusting.
Ignoring Device Limitations
High graphics on low-end devices cause frame drops, ruining aim consistency. Prioritize smooth performance over visual quality.
Neglecting Regular Practice
Settings optimization means nothing without consistent practice. Dedicate daily time to training mode and custom matches.
Frequently Asked Questions
What is the best sensitivity for one-tap headshots?
For one-tap headshots, most pro players recommend 95-100 general sensitivity with red dot sensitivity between 90-100. However, beginners should start at 80-85 and gradually increase as muscle memory develops.
Should I use gyroscope for headshots?
Gyroscope significantly improves headshot accuracy once mastered. It allows micro-adjustments impossible with touch alone. Start with “Scope On” mode and gradually transition to “Always On” if comfortable.
Why do my settings feel different after updates?
Free Fire updates occasionally reset or alter sensitivity behavior. After major updates, test your settings in training mode and readjust if necessary.
Does phone quality affect headshots?
Absolutely. Higher refresh rate displays (90Hz-120Hz), faster processors, and better touch sampling rates all contribute to smoother aiming and quicker response times.
What’s the difference between Android and iOS for Free Fire?
iOS typically offers more consistent performance due to optimized hardware-software integration. Android provides more customization options but requires proper device optimization. Both platforms can achieve excellent headshot performance with correct settings.
How long does it take to master new sensitivity settings?
Most players require 1-2 weeks of consistent practice to develop muscle memory for new sensitivity settings. Avoid changing settings during this adaptation period.
Conclusion
Optimizing your Free Fire mobile settings for headshots involves balancing sensitivity configurations, graphics performance, HUD layout, and device-specific tweaks. While this guide provides comprehensive recommendations based on pro player configurations and YouTube research, remember that personal comfort ultimately determines your ideal settings.
Start with the medium sensitivity recommendations, practice consistently in training mode, and make gradual adjustments based on your performance. Whether you’re playing on Android or iOS, the principles remain the same—smooth performance, responsive controls, and dedicated practice create headshot legends.
Implement these settings today, commit to regular practice, and watch your headshot percentage climb. See you on the battlefield, booyah!
Want more Free Fire optimization guides? Explore our events calendar for current in-game events, and don’t forget to check our redeem codes section for free rewards to customize your newly optimized loadout.
Last Updated: February 2026
Disclaimer: Settings recommendations are based on community research, YouTube content analysis, and testing. Individual results may vary based on device specifications, personal preferences, and playstyle.